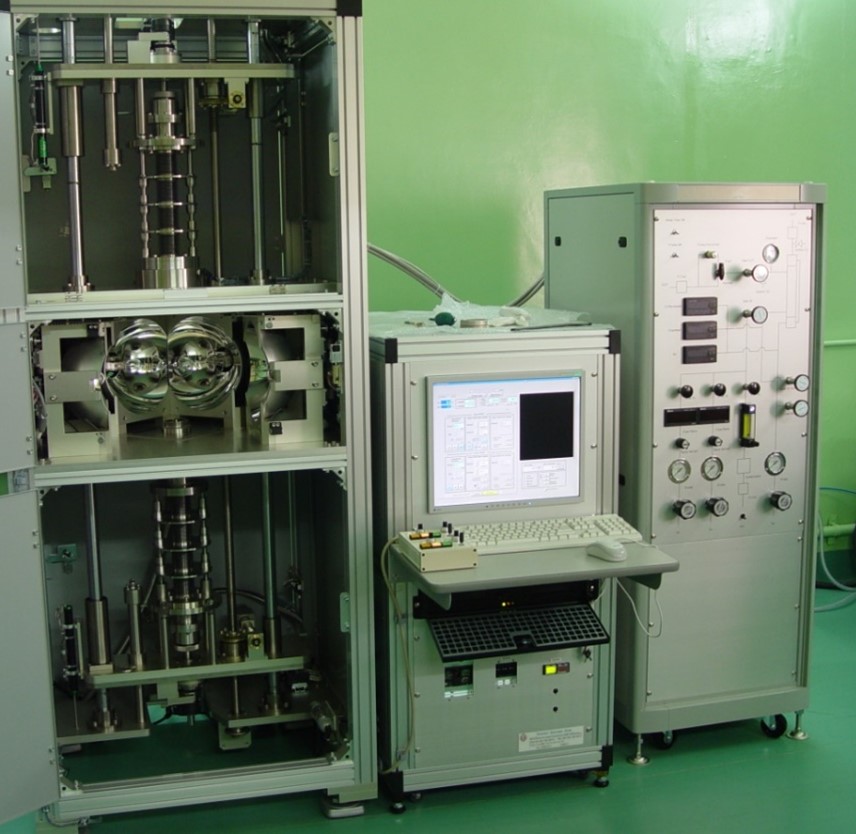
- Optics characterization facility
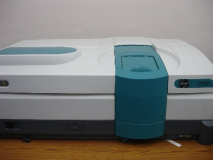
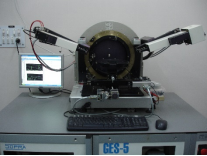
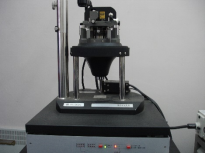
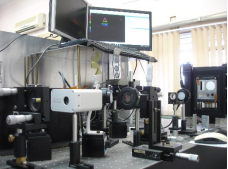
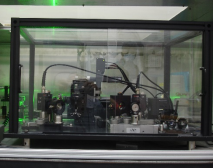
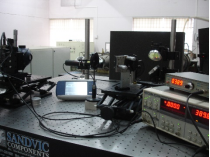
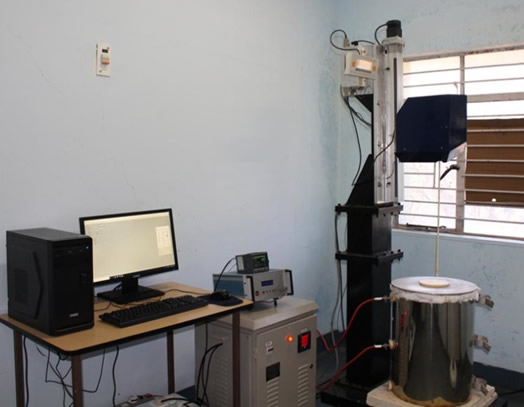
Accurate characterization of coatings developed are very important prior to their use in lasers and other spectroscopic experiments. Our characterization laboratory consists of i) two spectrophotometers for determination of specular transmission, reflection and their diffused components as well in the range 190 to 3000 nm., ii) variable angle spectroscopic ellipsometer for determination of film thickness and optical constants, iii) atomic force microscope for characterization of surface morphology, iv) laser damage threshold measurement using Nd:YAG and it’s 2nd harmonic wavelengths (5 nsec, 1 J @ 1064 nm, 0.5 J @ 532 nm,10 Hz) and v) photo-thermal common path interferometer to measure ultra-low absorption (532 nm) in optical coatings.

Spectrophotometer
|

Spectroscopic Ellipsometer
|

Atomic force microscope
|

Laser induced damage
threshold measurement setup
|

Photo-Thermal common
path interferometer
|

Scattering measurement setup
|
- Fizeau interferometer for testing optical flatness
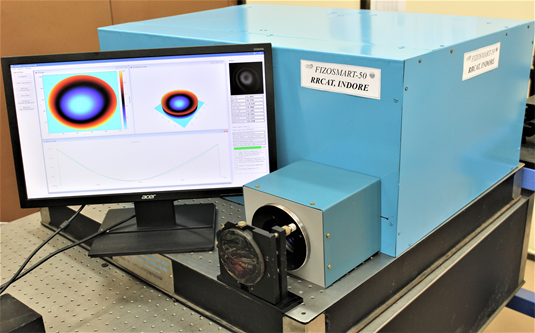
Fizeau interferometer is one of the most important optical metrology instruments at optics development facilities and laboratories for non-contact surface measurements of polished optical surfaces. A polarization phase shifting Fizeau interferometer has been developed for quantitative evaluation of surface flatness and 3-D surface form of polished optical surfaces. The developed interferometer measures Peak-Valley deviation, aberrations and displays 3-D surface form of the polished optical surfaces. The interferometer can measure surface form of the test optics up to a maximum diameter of 100.0 mm and with an accuracy of λ/10.

In-house developed Fizeau interferometer for optical testing
|
- Schlieren imaging for glass homogeneity testing
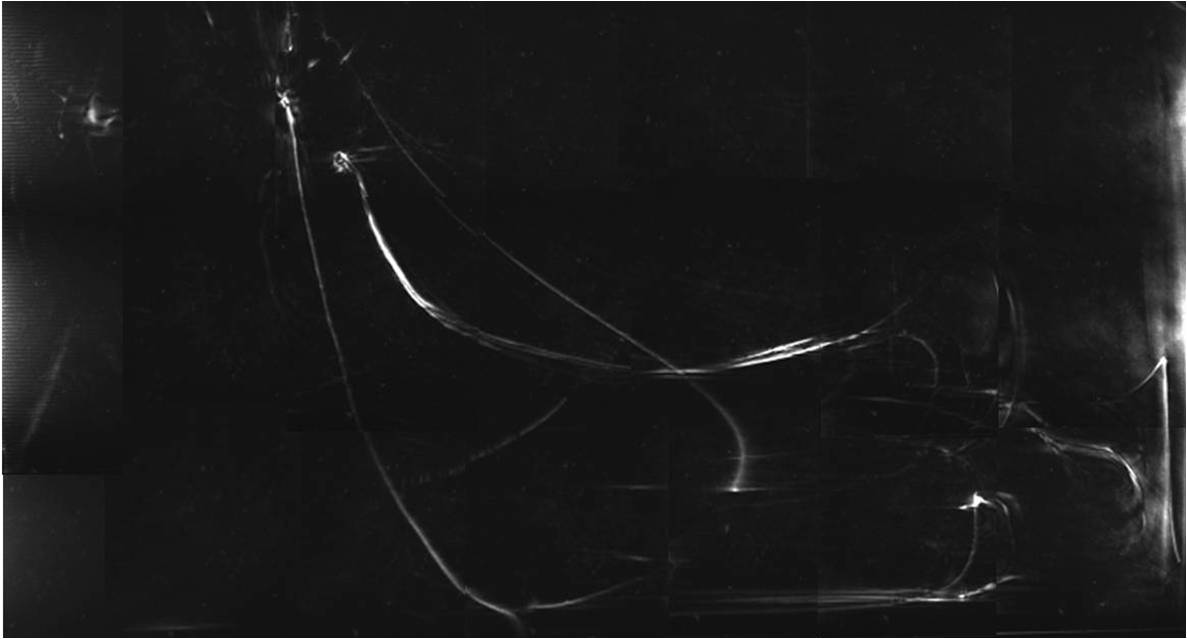
Schlieren imaging system is developed for detecting the refractive index inhomogeneity in large size Nd-doped phosphate glass slabs. Imperfections in glass, generated during the melting and casting process results in inhomogeneities in the refractive index of the medium. When light rays pass through regions of imperfections, light rays deflect and scatter. This fractional deflection of the light ray results in distortion of the wave-front of the light beam. The resultant deflection of the light rays produce intensity change in corresponding portions of the image of the light beam and therefore can be used to identify the inhomogeneity of the glass medium. Schlieren image provides a good qualitative estimate of the inhomogeneity of the glass medium if it is of the order of 10-3 which is otherwise not observable through visual/naked eye inspection.

Measurement Setup
|

High contrast schlieren image depicting
refractive index inhomogeneities
in the glass slab
|
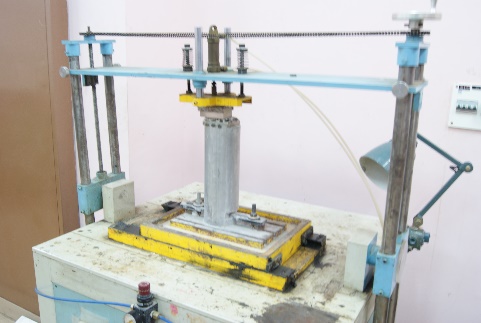
- Laser based sag profile measurement system for long cylindrical tubes
Simply supported long hallow cylindrical tubes sag with time due to self-weight, internal loads etc. ODDL developed laser-based sag profile measurement system of such tubes using laser and a mechanical probe. Software for evaluation of the sag profile over the length of the tube is developed. The developed system can determine the sag profile of the hallow tube up to 4000 mm length and 100 mm diameter with a measurement accuracy of ±1.0 mm.

Measurement Setup
|
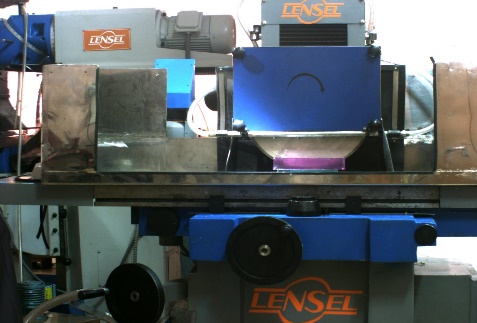
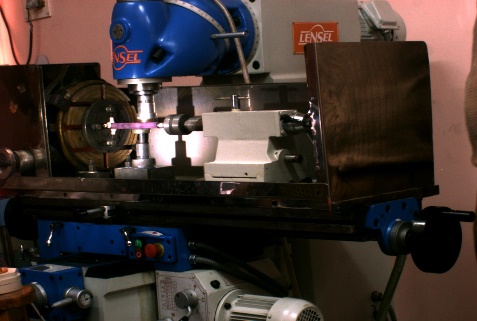
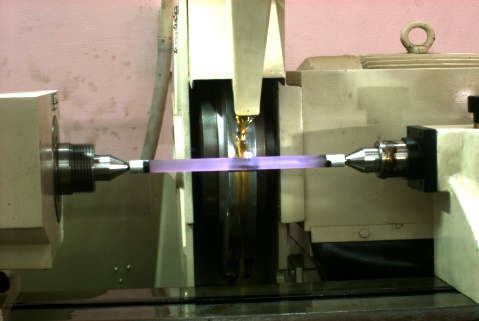
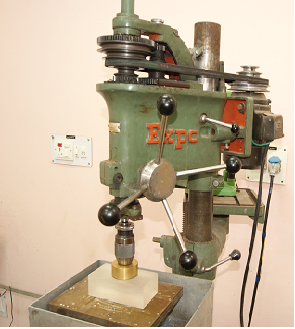
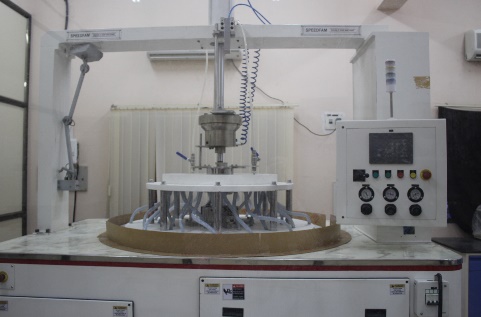
- facilities available at ODDL for the fabrication of optical components

Glass Sawing Machine
|

Glass Milling Machine
|

Glass Edging Machine
|

Glass Trepanning Machine
|

Double Side Polishing Machine
|

Cylindrical polishing machine
|
- Fabrication of Super smooth optical surfaces
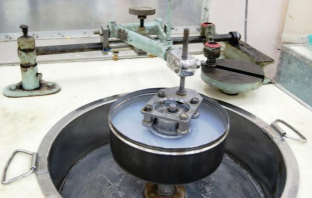
High energy lasers require mirrors and optical windows with very high reflectivity and high transmission, respectively, and with reasonably high Laser Induced Damage Threshold (LIDT). To achieve this the substrates should have ultra-low surface roughness (Super smooth) below 5 Å with minimum cosmetic defects apart from a high degree of surface flatness. ODDL has augmented a super-smooth optical polishing facility using Bowl-feed technique.

Photograph of Bowl-feed polishing
|


